
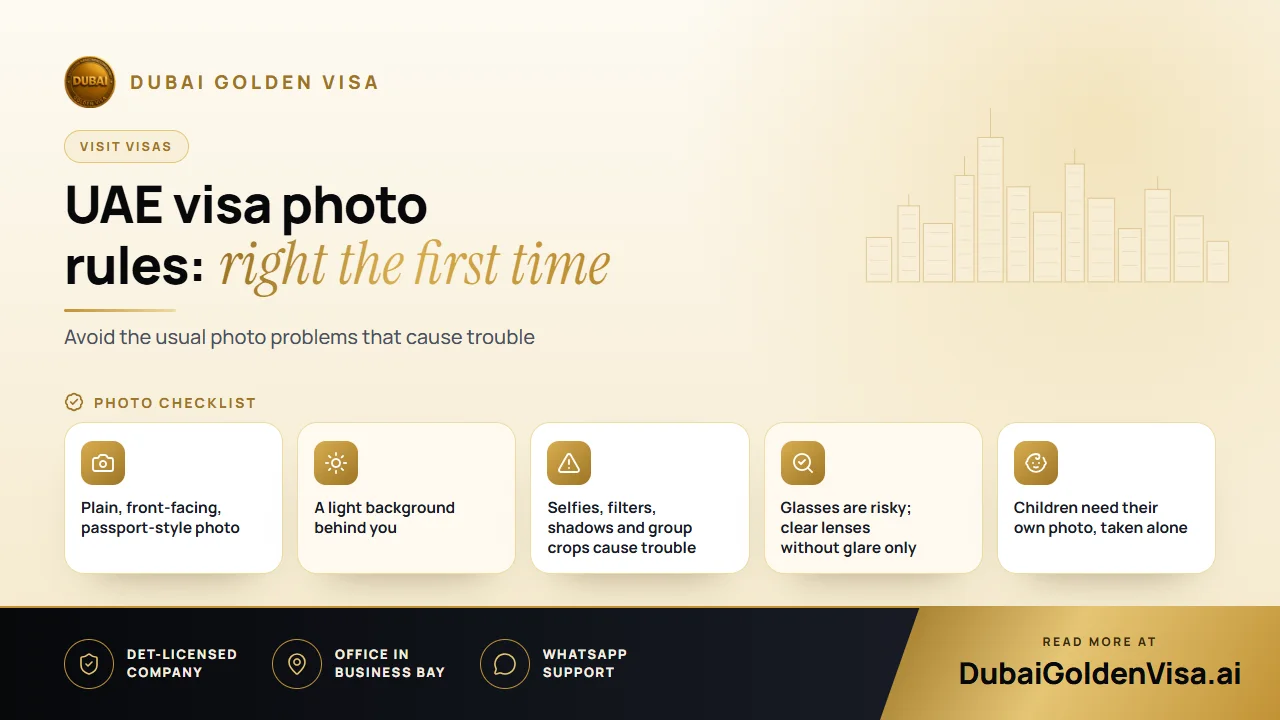
When an application is held up, people often assume the problem is something complicated. Frequently it is the photo. The authorities use it to check that you are the person in the passport, so it needs to be clear and plain.
Here is what to aim for, how to do it yourself and which mistakes come up again and again.
01What a good photo looks like
- Straight on: head centred, face fills most of the frame, both ears and shoulders level.
- Neutral expression with the mouth closed, rather than a broad smile.
- Eyes open and looking at the lens, with no hair, frames or reflections across them.
- Even light on the face and no hard shadows behind you.
- Plain, light background with no pattern, furniture or other people.
- Sharp and in focus, with natural skin tone and no filters or beauty effects.
Think of an ordinary passport photo and you will not be far off. The point is that your features are easy to read.
02Glasses, headwear and clothing
Caps and fashion headwear are not accepted. If you wear a head covering for religious reasons, your whole face must still show from chin to forehead, with both sides visible.
Glasses are the trickiest. If you must keep them on, the lenses should be clear with no glare or tint, and the frames must not hide your eyes. Removing them is usually the safer choice.
Choose a plain top that contrasts with the background. A white shirt against a white wall makes your outline disappear. Skip uniforms, large jewellery and anything that covers your neck or chin.
03Mistakes that cause delays
- A selfie taken at arm's length, which distorts the face.
- A blurry, dark or low-resolution image.
- A busy or dark background.
- Shadows on the face or the wall behind.
- Beauty filters, colour effects or heavy editing.
- A crop from a group photo.
- An old picture that no longer looks like you.
Tip
Quick test
Hold your phone at arm's length and look at the image on screen. If a stranger could pick you out from the passport, the photo is probably fine.
04Taking it at home
You can take an acceptable photo at home. Follow these steps.
- 1
Find a wall
Stand in front of a plain, pale wall with soft daylight from a window in front of you.
- 2
Use a helper
Ask someone to hold the camera at eye level a couple of metres away, not a front-camera selfie.
- 3
Check the image
Zoom in to confirm eyes are sharp and there are no shadows or glare.
- 4
Keep the file original
Do not apply filters or compress the image too much before uploading.
If your home setup is not working, a photo studio can produce a passport-style print and a digital copy for a modest cost.
05File format and last checks
Upload the photo as a standard image file, in portrait orientation, and avoid cropping tightly around the head. Leave a little space above the hair and below the chin so the system can frame it correctly.
Before you submit, compare the photo with the one in your passport. Hairstyle, beard and glasses can change, but the face should still be obviously the same person. Make sure the name and date on any related documents match the passport too.
06Babies and children
Children need their own photo, with no parent, hand, toy or chair back visible. For babies, lay them on a plain light sheet and photograph from directly above, with eyes open if possible. Be patient and take several shots, because getting a neutral face takes a few tries.
We check photos before an application goes in, so an unclear one can be fixed rather than sent. Send yours to us on WhatsApp for a free quick look and we will tell you if it needs to be retaken.
Questions about this topic
A neutral expression with the mouth closed is safest, because it makes your features easiest to compare with your passport.
Questions about your own case?
Send us a message and an advisor will tell you which route fits and what you'll need.