
Applying for a Dubai visit visa online is not difficult, but it is unforgiving of small errors. A wrong country selection or a blurry passport photo can cost you days, and when your flight is booked, days matter.
This guide follows the typical order of an online application so you know what to expect, what to prepare and where people most often go wrong. Screens differ slightly between providers, but the logic is the same.
01Before you start: gather the basics
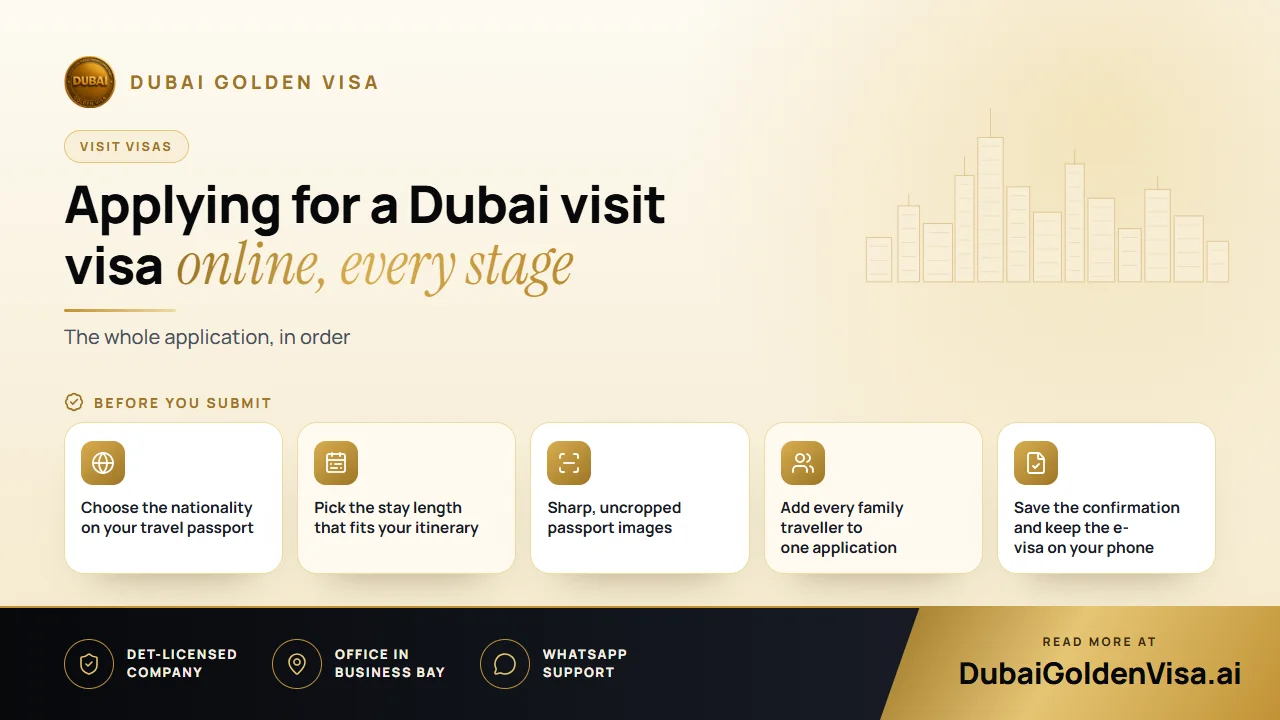
Five minutes of preparation saves a lot of back and forth. Have the following ready before opening the form.
- The passport you will use to travel, with enough validity left
- Your planned travel date and the number of days you want to stay
- An email address and phone number you can reach during the process
- Sharp digital images of the passport pages and a recent photograph
- Any extra documents requested for your profile, such as residence evidence
Use the same passport from the first screen to the last. Mixing details from two documents is a classic cause of mismatches.
02The application, screen by screen
- 1
Select your passport nationality
Choose the country printed on the passport you will travel with. If you live elsewhere, do not choose your country of residence unless it is also your nationality.
- 2
Choose your length of stay
Typical choices are up to 14 days, 15 to 30 days and 31 to 60 days. Match your actual itinerary; a longer visa is not automatically better.
- 3
Set your travel date
Pick the day you plan to arrive. If it is close, think about faster processing before you continue.
- 4
Review the suggested visa
Check the duration, whether it is single or multiple entry, and the processing speed on offer. Rely on the live figures on the screen, not an old price you saw elsewhere.
- 5
Enter contact details
Give your name, email and phone number. You will receive updates here, so make sure you can open them.
- 6
Add passport details and upload files
Type the details exactly as printed and upload the requested passport pages and photo.
- 7
Add other travellers if needed
Families and groups can usually add each person in turn, then check the whole list before payment.
- 8
Review and pay
Compare every field with the passport, look at the total and pay. Keep the confirmation and any reference number.
03Getting the uploads right
Uploaded files are where most delays begin. A reviewer needs to read your passport page in full, so every line should be sharp and nothing should be cut off.
- Photograph the page flat, in good light and without glare or shadows
- Show all four corners and the machine-readable lines at the bottom
- Avoid screenshots of screenshots, which lose quality
- Use a plain background and a natural expression for the portrait photograph
- If a cover page is requested, upload that as well as the data page
Tip
Copy from the passport, not from memory
Passport numbers and surnames are the two fields where typing errors do the most harm. Read them straight off the document, one character at a time.
04Mistakes that cause trouble
- Selecting the wrong nationality or the country of residence
- Choosing a stay length that does not match the real trip
- Passport details with typing mistakes
- Blurred, dark or cropped images
- Not looking at the visa summary before moving on
- Skipping the final review and noticing a problem only after payment
05After you submit
Keep an eye on the email address and phone number you gave. If a document is unclear or something extra is needed, the request will come there, and a quick reply keeps the application moving.
When the visa is issued, check the name, passport number, entry type and validity before you do anything else. Save the e-visa on your phone and, if you like, print a copy. Airlines and immigration officers may ask to see it.
If you would rather have someone check the file before it goes in, message us on WhatsApp for a free check. We will tell you what is missing and how to fix it.
Questions about this topic
The one on the passport you will use to enter the UAE. Your country of residence only matters if you are also a citizen of it.
Questions about your own case?
Send us a message and an advisor will tell you which route fits and what you'll need.