
Not long ago, getting a visit visa meant forms, photocopies and a trip to an office. Today most tourist visas for the UAE are handled digitally: you submit details and scans, pay, and receive an electronic visa by email if the application is approved.
It sounds simple, and it is, as long as you treat the preparation seriously. Here is what happens at each stage and where people tend to slip.
01First, check whether you need one
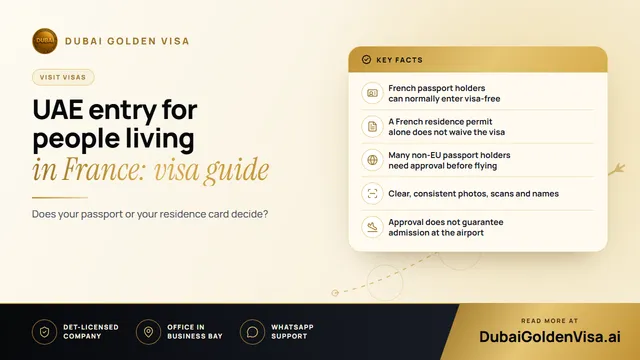
Entry rules depend on your passport. Some travellers can arrive without a visa or receive one at the airport. Others must have approval before they travel. Residents of other Gulf countries may follow a separate electronic permit route, and Gulf citizens normally do not need a visa to enter. Confirm which group you fall into before you spend anything.
Our service covers tourist and visit visas only. Work visas and residence permits are separate processes with different requirements.
02The stages of an online application
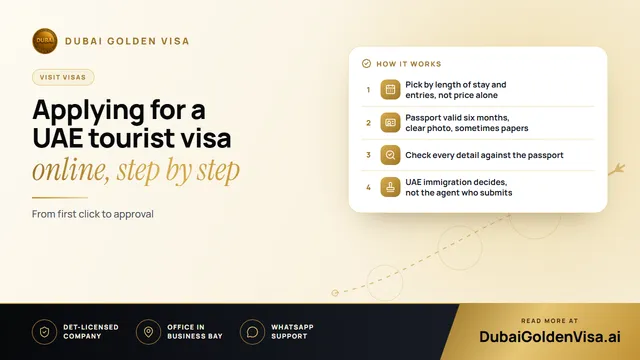
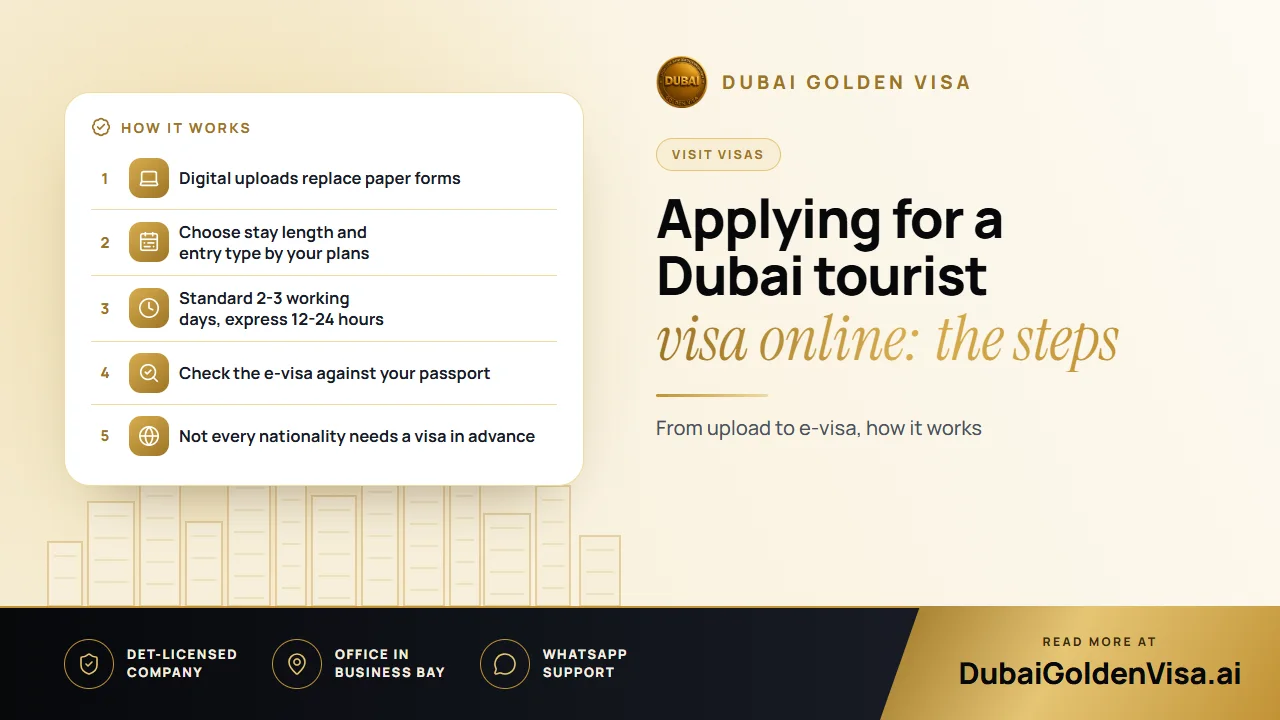
- 1
Pick the stay and entry type
Tourist visas come in 14, 30 and 60-day options, with single or multiple entry where available. Choose the length that covers your real itinerary, not the cheapest guess.
- 2
Enter your details exactly
Name, date of birth and passport number must match the passport letter for letter. A single typo can mean a visa that the airline will not accept.
- 3
Upload your files
You will typically need a clear scan of the passport photo page and a recent photo on a white background. Some travellers are asked for flight, accommodation, insurance or other supporting documents.
- 4
Review and pay
Read through every field and the final amount before you confirm. Pay through a secure checkout and keep the confirmation.
- 5
Wait for the decision
Immigration reviews the file. Standard handling usually takes 2-3 working days and express about 12-24 hours, though official holidays and extra checks can stretch that.
- 6
Receive and check the e-visa
If approved, the visa arrives electronically. Open it straight away and check it carefully.
03How to read your approved e-visa
Treat the first minute with your visa as a proofreading job. Compare these points with your passport:
- Full name, spelled exactly as in the passport
- Passport number and nationality
- Visa type and the number of entries allowed
- The validity period, and how many days you may stay once you land
- The permit or reference number, which helps when you are tracking or checking the visa later
If anything looks wrong, tell your agent at once. Errors found at home can be corrected, while errors found at the airport can mean a missed flight.
Tip
Validity is not the same as length of stay
A visa may be valid for use within a set period after issue, while your permitted stay is counted from the day you enter. Read both dates, and plan your arrival inside the validity window.
04Tracking your application
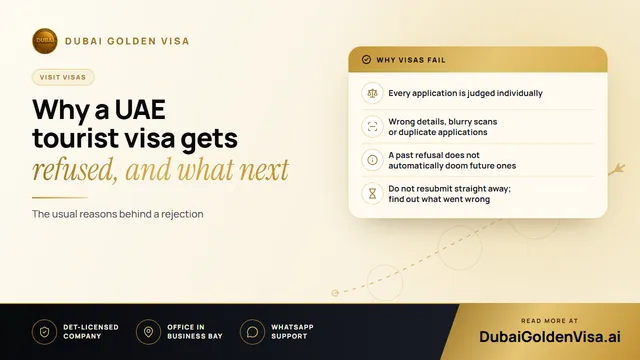
After you submit, you should receive a confirmation and updates by email or message. If your agent offers a status page, use that rather than sending the same application twice, which can create duplicates and delays. If a few working days pass with no news, contact your agent and give them your name, passport number and the reference from the confirmation.
05Habits that make approvals smoother
- Apply a week or so before you fly, not the night before
- Use a passport with at least six months of validity
- Photograph documents flat, in good light, without cropping corners
- Make sure your hotel and flight dates fit the visa dates
- Remember approval always rests with the authorities, so avoid non-refundable plans until the visa is in hand
If you would like someone to look over your documents before they go in, send them to us on WhatsApp for a free check. We will tell you what is missing, which visa suits your trip and what to expect on timing.
Questions about this topic
It is wise to keep both a saved digital copy and a printed one, in case your phone battery or signal fails.
Questions about your own case?
Send us a message and an advisor will tell you which route fits and what you'll need.